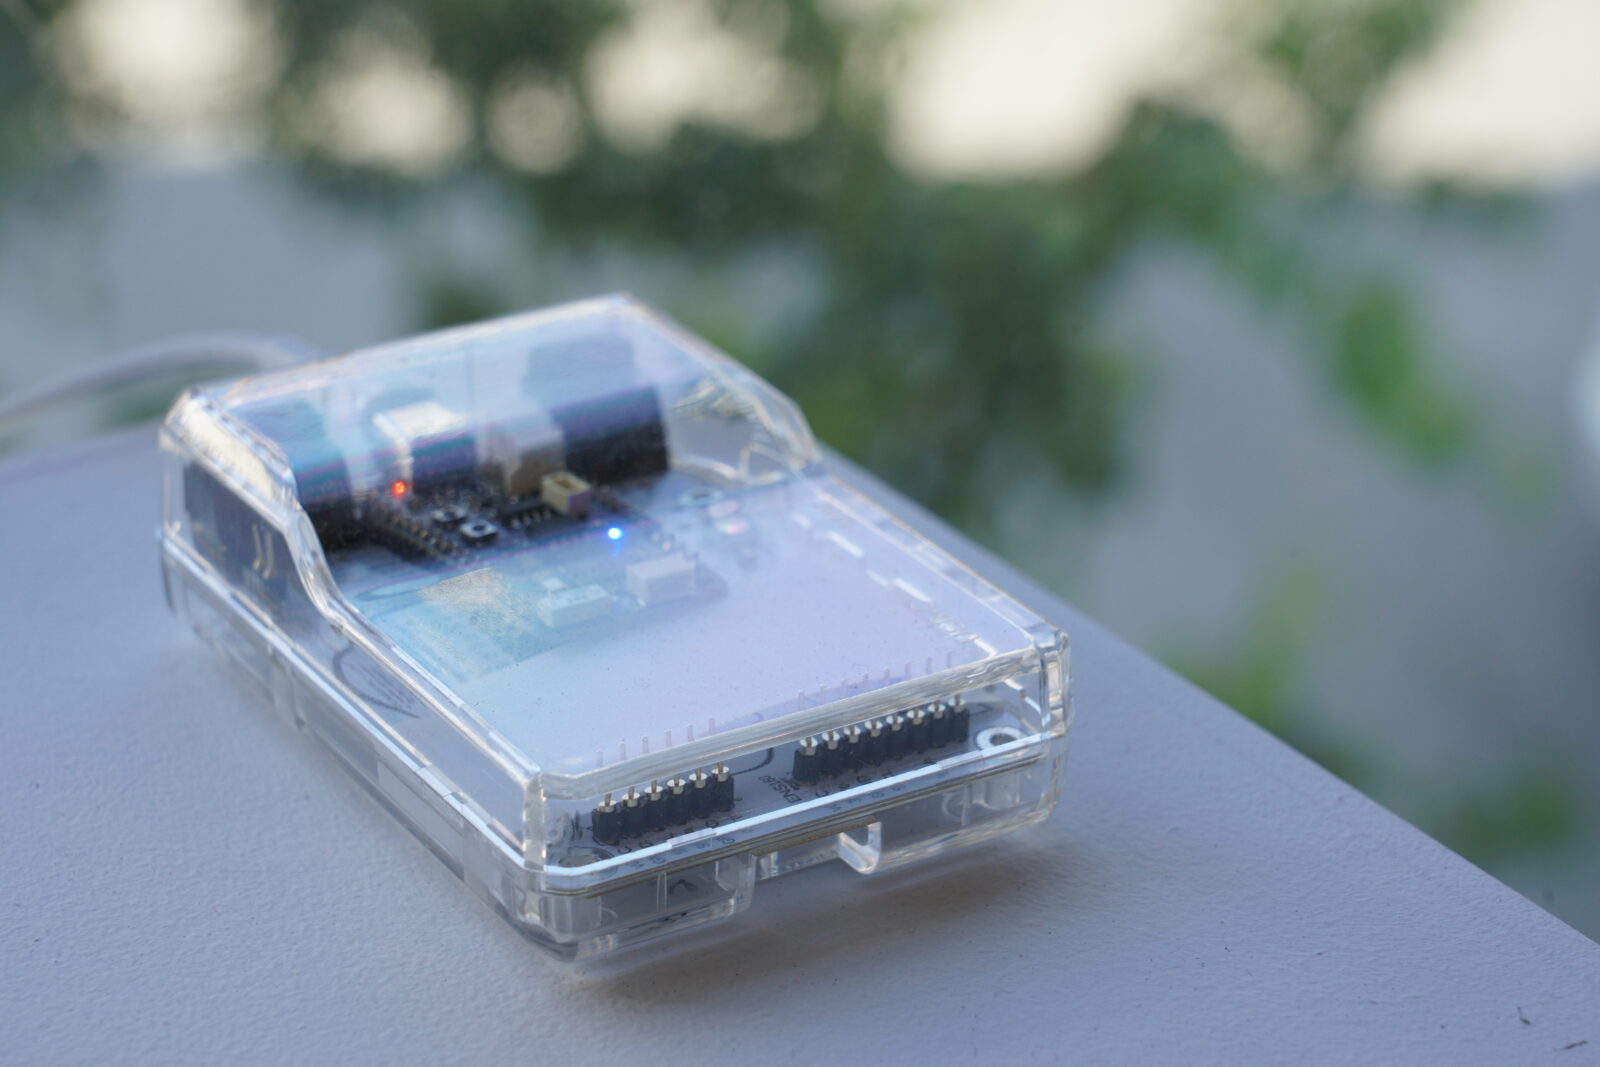
This update addresses adds “OTA” (Over-the-Air) update support so that future updates can be done with a web browser and do not require an use or knowledge of the Arduino IDE. Other important updates include compatibility updates with the AWS IOT toolkit that provide greatly improved connection reliability.
This page is only for use by Prototype boards to update to the 1.0 version of software. ONCE THIS UPDATE IS INSTALLED ALL FUTURE UPDATES WILL USE THE OTA PROCESS.
Download the PDF Guide with Images
Sensor software could be also obtained from GitHub
To make this update possible, you’ll need the Arduino IDE software along with its required libraries and board definitions. If you’re already familiar with Arduino, you can jump to the next step.
ARDUINO SETUP (FIRST-TIME USE)
A) Download and install Arduino IDE 2.32 or later
B) Install the ESP32S3 BOARD file:
- 1. Open the Arduino IDE
- 2. Go to > Preferences > Additional Boards Manager URL
- 3. Add this URL:
- 4. Restart Arduino, then in Boards Manager, add “esp32” by Espressif Systems (V 2.0.11 or 2.0.14 recommended, as of 15 March the alpha 3.0.0 release is not yet compatible with all of the libraries in use ).
C) On MAC, install Xcode command line tools if prompted (enter “xcode-select –install” in Terminal).
D) Install these LIBRARIES via Arduino Library Manager:
- RTClib
- Adafruit_AS7341
- pubSubClient by Nick O’leary (http://knolleary.net)
- ArduinoJson (https://arduinojson.org)
- AnalogRTClib
- FastLED by Daniel Garcia
- ESP32-OTA by Scott Baker
To find the libraries go to the Library Manager tab and write the name of the one you will install. Take care that the name of the author coincides with the one indicated in this guide.
E) Manually ADD the MicroOSCcript library (or folder) by: 1) unzipping MicroOSCript.zip file from inside the Domestic Light GitHUB software download; 2) copy the folder “MicroOSCript” from that folder to your Arduino library folder. Typical location is Documents>Arduino> Libraries
TO UPDATE AN EXISTING BOARD
1. Download the repository by cloning the Domestic Light Public repository or downloading the zip file, once downloaded unzip the file and navigate to DL_client directory.
2. Connect the sensor board via USB-C.
3. In the DL_client directory open the DL_client.ino file for your board series (100xxx uses the folder labeled DL_Client_DS3231 ; 200xxx uses the folder labeled DL_Client) in Arduino IDE.
4. Select the correct board/port (Unexpected Maker Feather S3).
5. Build and upload code. Ensure the correct board/serial port is selected.*
6. Reset button (in the sensor), and verify sensor output via serial monitor.
Note: On some MACs and PCs, the sensor board (ESP-32-S3’s) can lose serial connection (disappear as the selected port) at compile time and have to be reselected after compilation and before upload otherwise an upload error 1 or 2 is generated.
Note to resolve UPLOAD ERROR 1 OR 2
This error happens when the IDE loses connection to the serial port for the board or renumbers the serial port.
- Confirm board/serial port. Reselect if needed.
- Put the sensor board (ESP-32) into “boot” mode:
- Press the “boot” button (inside of the case)
- Press/release the reset button
- Release the “boot” button.
- Go to Step 4, select port/board, then select “Other board and port,” and specify Unexpected Maker Feather S3 (UM Feather S3).
- If the continue to get and error 1 or 2, restart the IDE and /or your machine and repeat
